
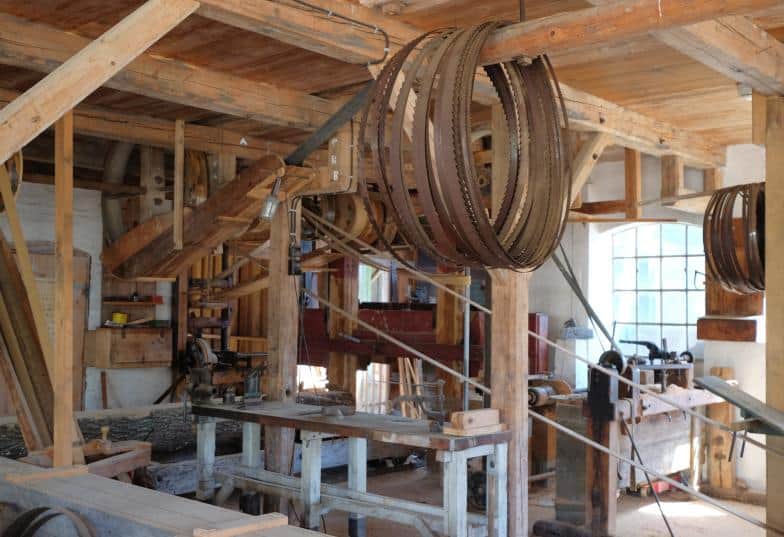
If you’ve decided to start woodworking, congratulations – you are just about to discover a beautiful hobby and a potentially lucrative job. However, if you’re just getting the hang of it, you’ll certainly face a lot of how’s and why’s that may derail you, one of the major ones being setting up the first workshop. So, let’s get this issue off the table and move you a bit closer to your dream.
Make a decision about the location
Essentially, you can build your workshop from scratch or use some existing, under-utilised space. If that’s you plan, then a large storage shed or garage stands out as the best candidate since, due to its size, it allows the best workflow. Just keep in mind that you’ll spend a lot of time there working with machines which require lots of power. Bear in mind that older properties might have problems with electrical installations and you may need to consider rewiring, but you should be careful and check local regulations to see whether you’re allowed to do so on your own. In the UK you can do some of your own electrical work providing it is approved by a certified electrician. In Australia you have to call in the professionals so hiring a qualified Sydney electrician is better than trying to fix the problem on your own.
Think about the workflow
The workflow can be best described as the path a piece of wood travels from the moment it enters the workshop all the way until it’s a finished product. Some of the most important stops are the place where you’ll break the wood into more manageable pieces (near the entrance), the storing space (lumber racks) and the all-important workbench. Put your thoughts on paper and try to find the best way you can use the space on disposal. Don’t forget that the workbench requires a lot of natural light so do your best to place it below the window.
Upgrade storage space
While using existing storage units seems like a good solution, what worked for your garage may not necessarily work for woodworking duties. So, you will probably need to work in new, specialized units that are positioned close to the workbench. If you are limited by a small space, look out for wall-mounted storage racks. On the other hand, sealable plastic boxes and chests will do a great job of protecting vulnerable items from humidity. Also, corners are an ideal place for storing tall and clunky tools hard to fit anywhere else.
Know your tools
Making a comprehensible list of tools you are going to use is very important for two reasons. First, you’ll have a much easier time managing your purchase budget. Second, woodworking tools are drastically different in shape and size and vary from bench tops to lighter things like spindle sanders and scroll saws. What you’ll need to do is to sensibly group them together and make room for storage units that will keep the tools more prone to rust (primarily saws) enclosed and safe from dirt.
Try to work in an assembly table
While not necessary, having an assembly table is highly preferable, because trying to pull everything off with only the workbench is not a practical solution. If you have enough space, build your assembly table somewhere near the center of the workshop, so you can have all the important parts just a few steps away. A unit that can store a couple of smaller tools and clamps would be an ideal option.
Make the place cozy
Woodworking is a craft deeply rooted in the natural environment so do your best to think of the ergonomics while assembling the working positions. Besides that, every workshop should be comfortable and inviting. Some of the things that can make them such are a lot of natural light, good heating that will keep you going during cold months, and comfortable seating.
These few tips should help you set up your first workshop and finally become a woodworker. Be aware that, no matter how thorough your preparations were, you’ll always face some problems and learn things along the way. But now, you at least know where to start.